
Where sealed connectors actually fail
Waterproof connectors do not usually fail because the terminal was crimped badly — they fail because the seal was damaged during insertion, or the terminal did not fully latch into the shell, or the seal was pushed off the wire. These defects are invisible after the connector is mated, which makes the insertion process the quality bottleneck of sealed-connector production. This guide walks through the process order, the die rules and the inspection points that keep insertion defects out of finished harnesses.
The three assembly steps and the order that works
A waterproof connector joint typically needs three operations after crimping:
1. Insert the terminal into the seal (rubber or silicone waterproof plug), 2. Insert the seal+terminal assembly into the housing (plastic shell) until the terminal latches, 3. Verify the latch — a partial latch is the classic hidden defect.
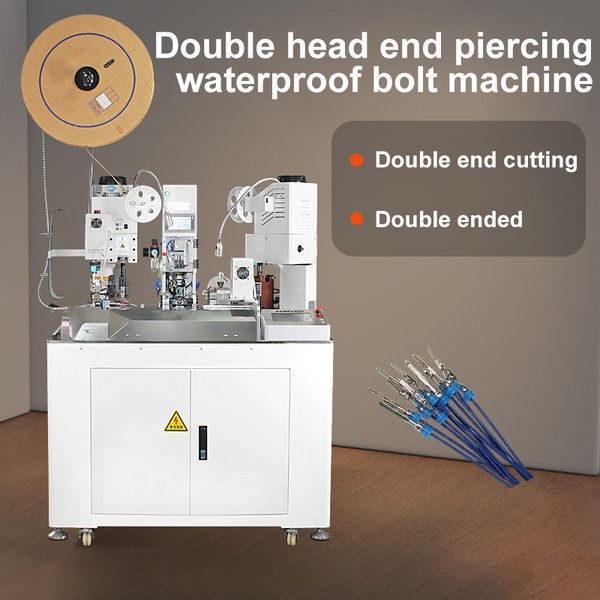
The correct machine order mirrors that: strip → crimp → insert seal → insert shell → eject. Machines that combine crimping with insertion (our waterproof plug inserting terminal crimping machines and auto-insert waterproof seal crimping machines) do the seal and shell insertion in the same cycle, so the terminal cannot be mis-oriented between stations.
Die and tooling rules that prevent defects
Seal insertion dies
- Guide the seal, do not crush it. The die bore should match the seal outer diameter with a working clearance of roughly 0.05–0.15 mm. Too tight and the seal lip folds; too loose and the terminal misses the seal centre.
- Support the seal lip. A stepped die that carries the back lip stops the seal from inverting when the terminal is pushed through.
- Push from the crimp side, not the wire side. Inserting from the wrong side is the most common cause of turned-back lips.
Shell insertion dies
- Hold the shell by its outer profile, not by the latch windows — clamping on the latch distorts the retention feature.
- Align terminal and shell by the keyway. Sealed connectors are polarised; the die must locate on the shell key so a rotated terminal is physically impossible, not just unlikely.
- Stroke to a latch check. The machine should bottom out only after the terminal click is reached; a fixed-height stop that does not confirm the latch produces the worst defect — the half-latched terminal that passes a pull test once and fails in service.
Defects to inspect — and how machines catch them
| Defect | Root cause | Prevention / detection |
|---|---|---|
| Seal lip turned back | Wrong insertion side or tight die bore | Stepped lip-support die; correct feeding orientation |
| Seal pushed along the wire | No seal stop in the die | Insert the seal up to a fixed reference seat |
| Terminal not fully latched | Stroke ends before the click | Latch-check stroke; listen / force monitor |
| Shell deformed | Clamping on latch windows | Hold shell by outer profile |
| Terminal inserted rotated | No polarisation control | Keyway-located die |
| Wire kink at seal entry | Bad stripping length or misalignment | Correct strip length; aligned feed |
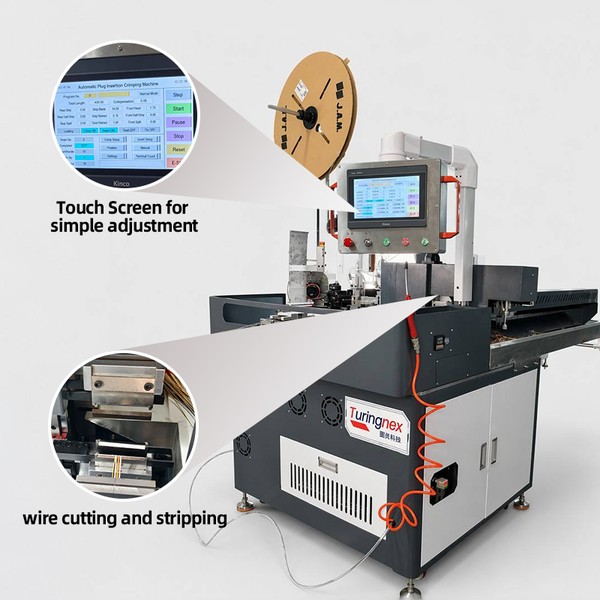
Automated machines add a real safeguard here: when the insertion ram runs against a force profile, a seal that folds or a terminal that stops short changes the force curve and the cycle is rejected instead of passed.
Matching the machine to your sealed-connector mix
Ask three questions before buying insertion equipment:
1. How many different seals and shells run per day? A shop switching inserts every 20 minutes needs quick-change die cassettes; a dedicated line can run one family flat out. 2. Is the crimp and insertion one workstation or separate? If terminals are crimped elsewhere and brought in on reels, a standalone insertion machine fits the flow; if you build the whole joint in one pass, take the combined crimp-insert route. 3. What QC evidence does the customer want? For sealed automotive connectors, ask whether the line can log insertion force or confirm latch per part. See our selection guide for waterproof plug and shell machines for the full comparison of single-function versus integrated machines.
FAQ
Can one machine insert both seals and shells? Yes — combined machines crimp, insert the seal and then insert the shell in one cycle, which removes the risk of mis-orientation between separate stations.
Why do sealed connectors need a different die from ordinary ones? Because the seal and shell are flexible or thin-walled parts with orientation features. Ordinary crimp dies only hold a metal terminal; insertion dies must guide, support and locate plastic and rubber without damaging them.
How do I check the latch without destroying parts? Pull testing destroys the part. In production, verify by the machine's latch-check stroke or by an audible/force signal; sample pull tests confirm the process.
Bottom line
Sealed connectors are won or lost at the insertion station. Buy dies that guide rather than crush, keep the process order crimp → seal → shell → latch-check, and choose machines that can prove the latch. Send us your seal and shell drawings — we will quote the correct dies and machine configuration, not a generic crimper.